Rubik’s Cube Solved: Learn the Logic behind Making All Sides Match
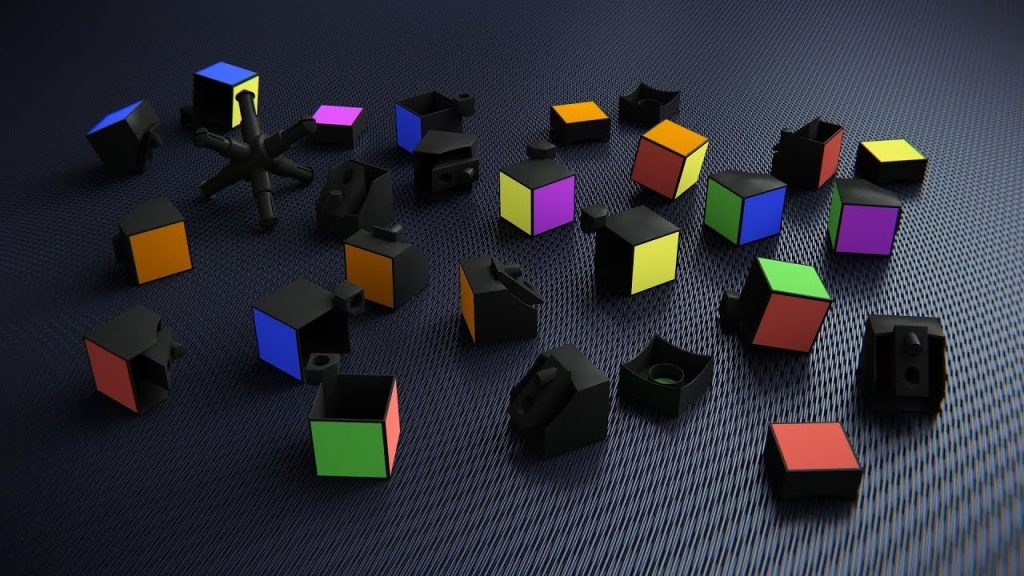
The Rubik’s Cube puzzles have now created a classic puzzle for several decades for individuals to dwell on. It, carrying six colorful, facile faces, gives both puzzled and proven worth for an adventure-seeker. However, the entire picture becomes clear if the person has the logic and the steps to solve it; the whole experience can change to a glorious, brainy journey. In this guide, we take you through a step-by-step procedure of how to solve a Rubik’s Cube as per the moves and the reason behind them.
From an absolute beginner who simply can’t get a scrambled cube to someone who just wants to work on a few improvements to their solving skills, it provides comprehensive coverage of the Rubik’s Cube tutorial. You’ll get everything in here to take yourself through to solving the puzzle competently, and also understand how to make all sides of a Rubik’s Cube match. Let’s be positive!
Introduction: Solving the Rubik’s Cube is a lot more than just solving a puzzle.
Before all the technical stuff, it is necessary to know why solving the Rubik’s Cube is so much more than simply solving a puzzle. Solving a cube puzzle gets the brain and the hand working together and helps develop problem-solving abilities, memory, and focus. Perhaps the cube puzzle of Rubik is so famous that any attempt to solve such a cube is an intellectual exercise requiring spatial reasoning, pattern recognition, and strategic thinking.
So, what is step one in this iconic puzzle? It’s all about getting to know the fundamentals.
Before Beginning: Grasping the Fundamentals of the Rubik’s Cube.
Solving a Rubik’s Cube requires familiarity with the cube notation system of moves, documenting how a cube is to be rotated in the process of solving. Here are the basics of notation that one ought to know:
U (Up): Rotate clockwise on the uppermost layer of the cube.
U’ (Up Prime): Rotate counterclockwise on the uppermost layer.
R (Right): Rotate clockwise on the rightmost layer.
R’ (Right Prime): Rotate counterclockwise on the rightmost layer.
L (Left): Rotate clockwise on the leftmost layer.
L’ (Left Prime): Rotate counterclockwise on the leftmost layer.
F (Front): Rotate clockwise on the front-most layer.
F’ (Front Prime): Rotate counterclockwise on the front-most layer.
B (Back): Rotate clockwise on the back layer.
B’ (Back Prime): Rotate counterclockwise on the back layer.
D (Down): Rotate the bottom layer clockwise.
D’ (Down Prime): Rotate the bottom layer counterclockwise.
These simple notations provide the basis for solving a Rubik’s Cube and understanding Rubik’s Cube solutions. Keeping this in mind, we take the first step along the long journey to solving a complete Rubik’s Cube!
Step 1: Making the daisy:
This step sets a very simple yet powerful start for anyone learning to solve a Rubik’s Cube. The first thing to do while learning how to solve the Cube is to construct a shape called ‘Daisy.’ This is the first step in making the white cross. First, find the white center piece, then take the edges with white on them, and position them to surround the white center piece.
This makes the shape of a daisy with the white edge pieces forming a circle around the white center piece. In addition, the edge pieces must be aligned to match the center pieces of all the other sides. It is a very important first step as it establishes the foundation for all the processes within. Not only should the edge pieces be white for the white center, but they should also be corresponding in colors to the adjacent sides of the cube. Understanding this relationship is what makes all Rubik’s Cubes much easier to solve going forward.
Step 2: The White Cross – Build the Base.
Once you have accomplished the daisy, you move on to making the white cross, which further involves solving the four edge pieces so that they create a cross on the white face as well as line up with the centers on the adjacent faces.
The formation of the white cross is what gets you closer to completing your first layer. After the white cross is created, the next step is to solve the first layer by positioning the corners well. This will be one step closer to the complete Rubik’s Cube solution.
Step 3: Solving the First Layer – Bringing It All Together.
Now that the white cross is completed, let’s start the first layer. To complete this phase, you need to place the white corner pieces, one at a time, into their respective locations. When performing this operation, place the corner in such a manner that it not only fits the white layer, but it also aligns with the edges that have already been solved.
It might take a little getting used to before you start getting the first layer completely, but it’s still the most important section of the puzzle. After that, you would have completed this bottom layer of the cube; it is then time to move on to solving the middle layer.
Step 4: Solving the Middle Layer- Concepts of Layer-by-Layer Solving.
For some unknown reason middle layer is where most beginners often get stuck. The name of the game here is positioning the edge pieces of the middle layer without disturbing the white face you have worked so carefully to solve. This is where the use of algorithms becomes important.
In moving the edge pieces of the middle layer, we will make use of what are called “triggers.” Now, there are two different types of triggers you need to know about:
U + Right Trigger- Simply put, rotate the upper layer to set up the right trigger, turn the right side clockwise, and then counterclockwise on the upper layer to restore everything to the way it was.
U’ + Left Trigger works almost the same as the right trigger, but is now being applied to the left-hand side of the cube. It will allow you to put the middle layer edge pieces back without disturbing your completed white face.
Getting those triggers mastered is the way to get along in the cube-solving business.
Step 5: Formation of the Yellow Cross – the About Last Layer Turn.
You should have completed the initial stages now, facing the last and most challenging yellow portion of the cube. To begin, one would have to create a yellow cross. In this step, you should use algorithms to turn the upper-layer edges into their positions.
Now, don’t bother with completing the entire yellow face; it is only about using algorithms to create a yellow cross. In concept, there will be edge pieces aligned with the yellow center on the top face. Once yellow is formed, you are almost there!
Step 6: Solving the Yellow Face-Top Layer Finalization.
With the yellow cross accomplished, your next goal will be to solve the yellow face. The intention is to operate algorithms that will orient the yellow pieces correctly so that the top layer becomes yellow. The important thing is to keep practicing and practicing the algorithms until they become a pattern that works every time.
Step 7: Positioning the Corners-Making the Final Adjustments.
The yellow face being solved, the next task is to carry out the positioning of the yellow corners in the right spots. Do not worry if they are oriented incorrectly, yet-
JUST BE SURE THEY ARE IN THE RIGHT SPOTS.
Execute the algorithms in such a way as to rotate the corners into place without disturbing the solved yellow face. Once positioned correctly, you are good to go for the final step.
Step 8: The Edge: The Last Gestures.
Finally comes the positioning of the yellow edges. This step needs to be done to claim an end to the puzzle, followed by the solution for your Rubik’s Cube!
Turning the edges to where they belong enables you to bring the cube to a successful resolution. This is where all the pieces of the puzzle fit together, and you will finally see a complete Rubik’s Cube with matching sides.
Advanced techniques for facilitating a speedier solution to a cube puzzle.
If one wishes to learn faster methods for solving the cube, some advanced techniques are available. One of the most popular methods is CFOP: Cross, First Two Layers, Orientation of Last Layer, and Permutation of Last Layer. CFOP greatly improves one’s solving time and is adopted by competitive speedcubers.
Congratulations! You have just finished learning how to solve the Rubik’s Cube. It does not matter if you are solving it just for fun or to increase speed; solving a cube puzzle is always a celebration-worthy achievement. After tons of practice, your solving speed will improve, and soon you will be rubbing shoulders with fellow Rubik’s Cube competitors!
The Rubik’s Cube challenges your mind and develops your problem-solving ability. By doing it every day, you’ll gradually transform into a Rubik’s Cube master who awes everyone with complete solutions to the Rubik’s Cube!


![[JudyCube] QiYi Warrior S 3x3x3 Magic Cube 3x3 Speed Cube Cubo Magico Magic Cubo Professional Fidget Toys Children's Gifts](https://cubingcolours.com/wp-content/uploads/2025/08/kf-S3175e74f7235409ab755baec634dca9du-100x100.webp)
